How to Set Up Media Server Browsing in Zoom Player
Integrating Plex, Emby, and Jellyfin
Integrating your favorite media servers like Plex, Emby or Jellyfin directly into Zoom Player allows you to combine a powerful local media player with the convenience of centralized streaming libraries.
In this guide I will show you how to set up, browse and explore your media servers in both Windowed and Home Theater (HTPC) modes.
Setting up in Windowed mode
Windowed mode offers the most flexibility for desktop users, allowing you to manage your media library alongside other applications.
Connecting Your Media Server
Before browsing your content, you must link your media server to Zoom Player.
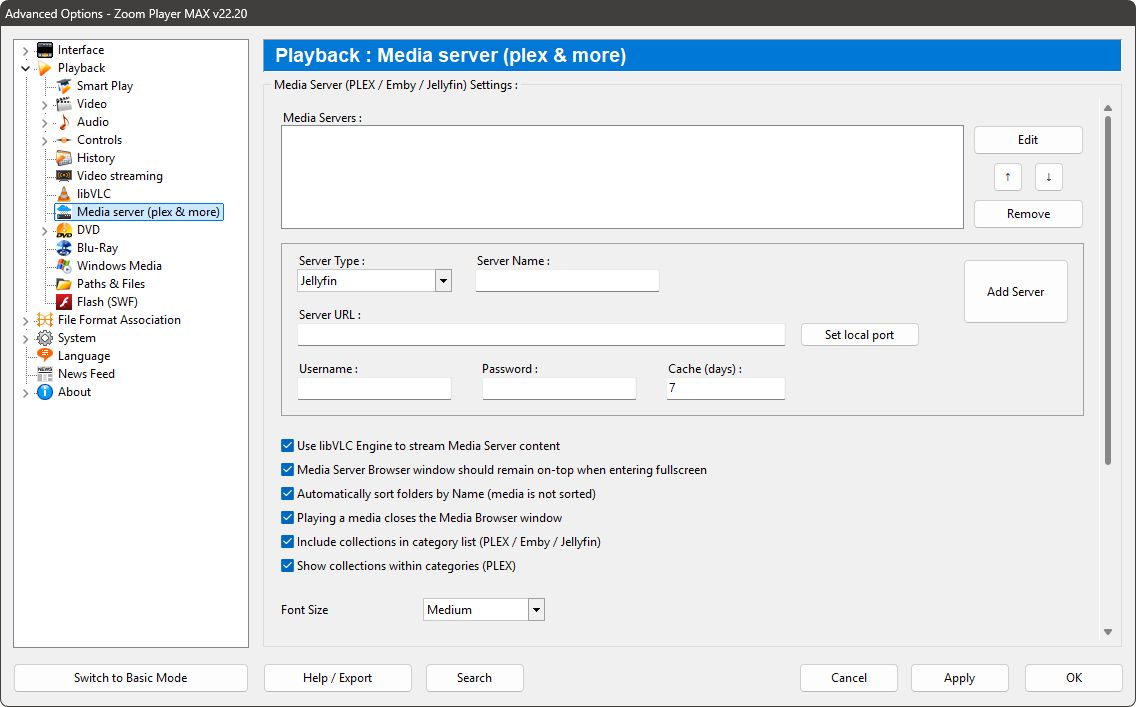
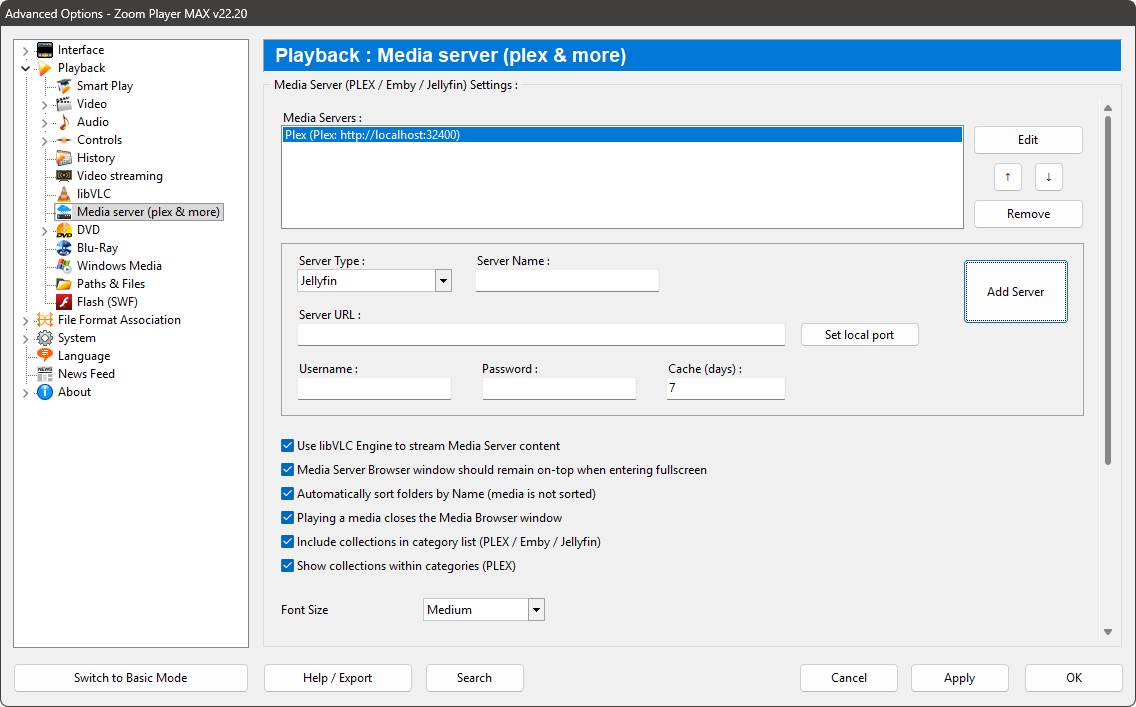
- Open the Zoom Player Options (Ctrl+O) and ensure you are in Advanced Mode.
- Navigate to Playback > Media Server (plex & more).
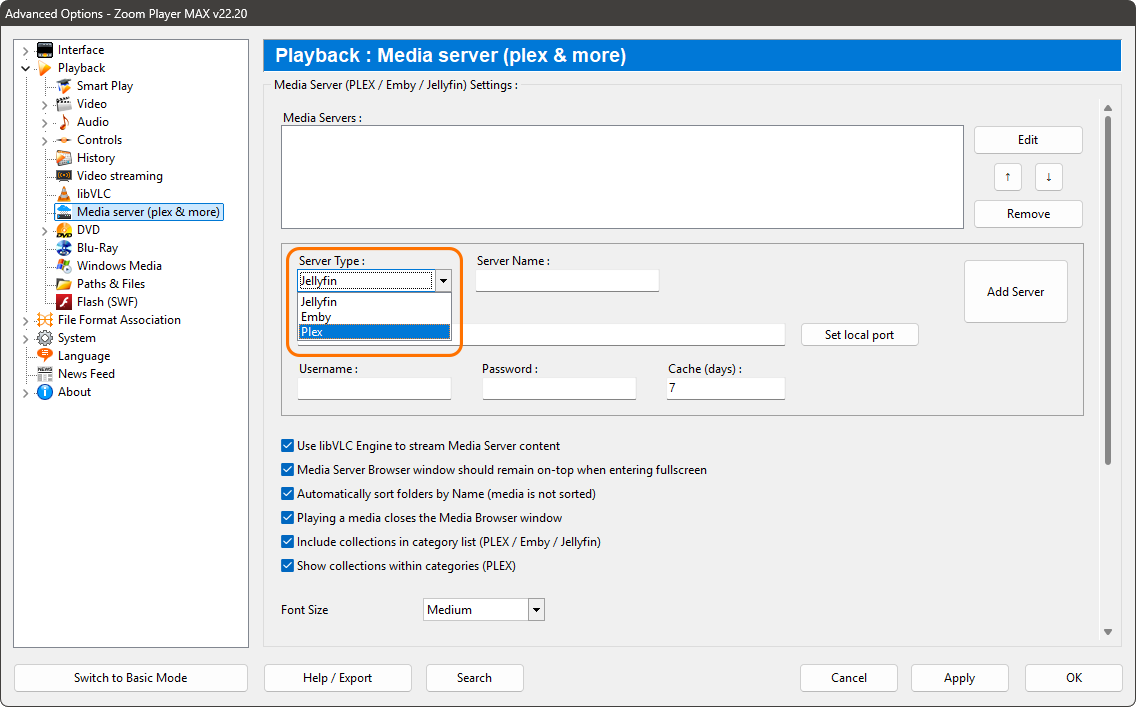
- Select your Server Type (Plex, Emby or Jellyfin).
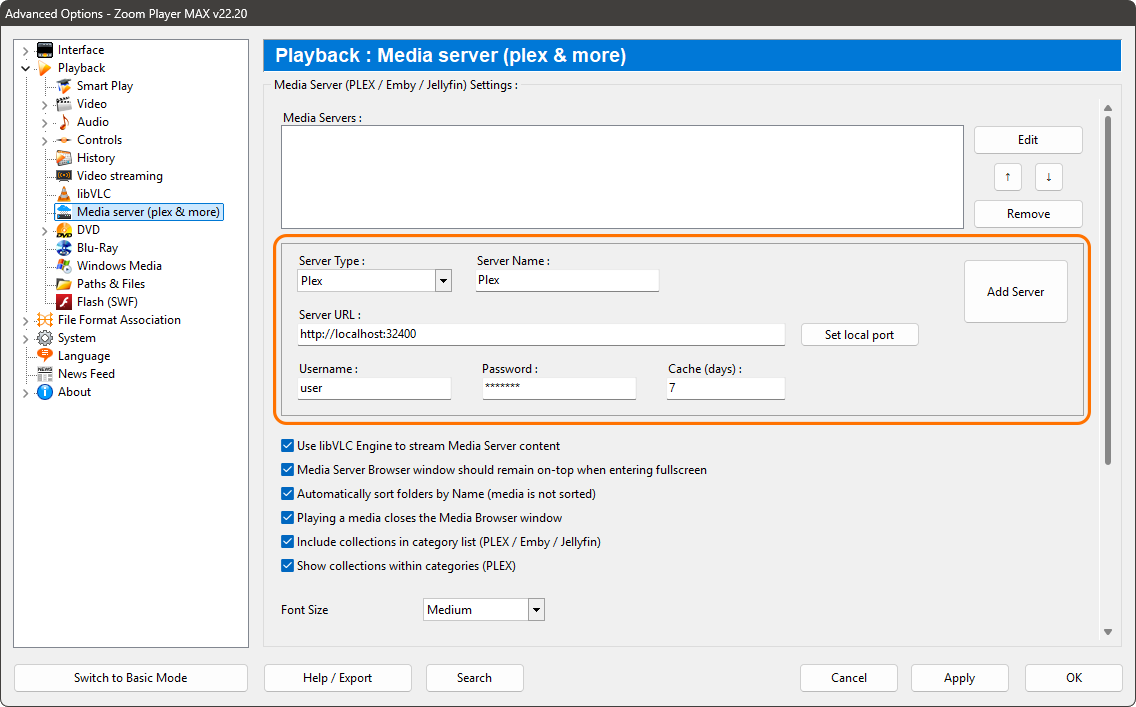
- Input the Server name, Server URL (e.g., http://localhost:32400 for Plex), Username and Password and click the "Add Server" button.
- The server which you added will be listed in the Media Servers list. You can click the "Edit" button if you want to update any details.
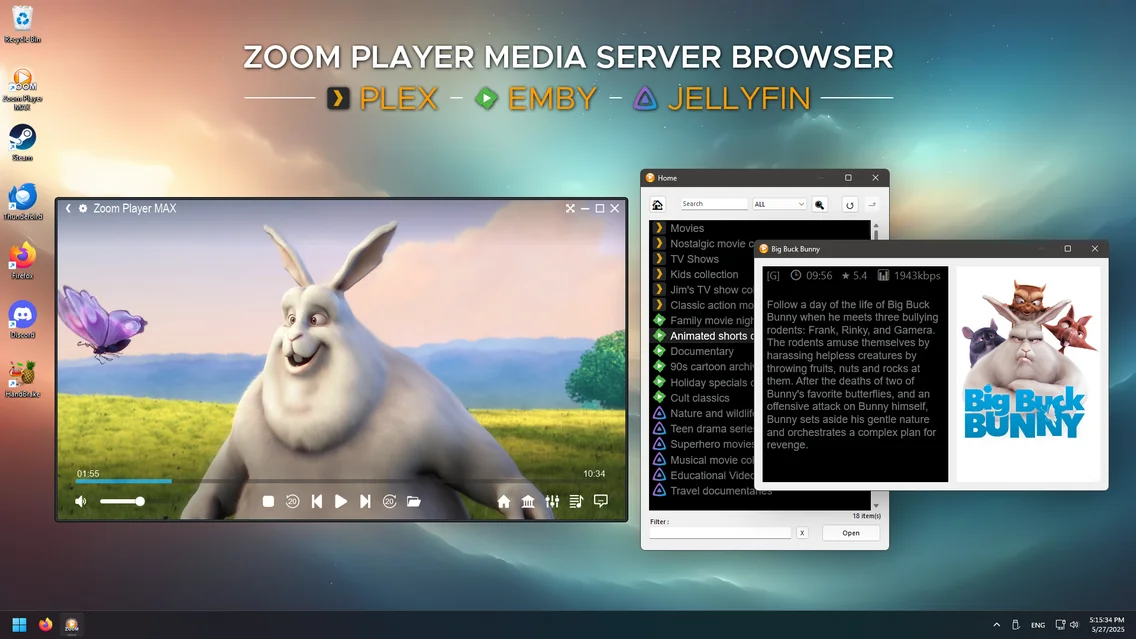
The Media Server Browser
The Media Server Browser (Shift+Y) is the fastest way to access your content on your media server. It provides a clean interface where all your connected Plex, Emby, and Jellyfin media servers are listed in one place.
Here is a summery of features of the Media Server Browser.
Media Server Icons:
Each category is prefixed with an icon representing the server type (Plex, Emby and Jellyfin).
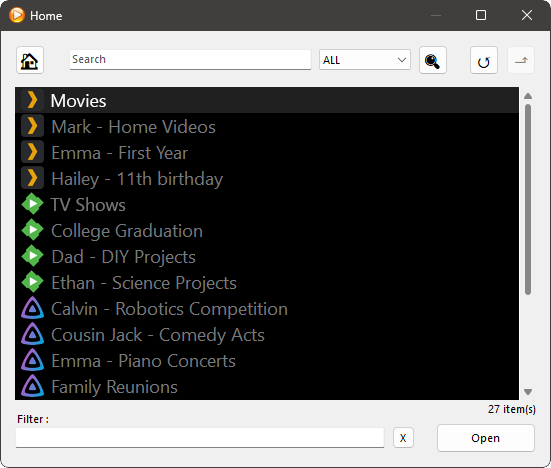
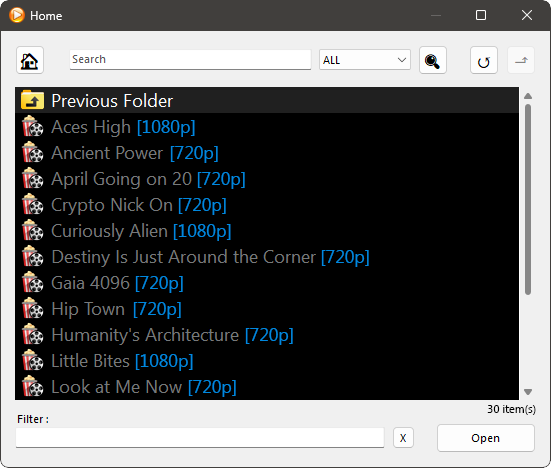
Expanding the category:
Double clicking on a category will expand it to reveal your media files, e.g. Double clicking the "Movies" category will expand and show the list of all movies in that category.
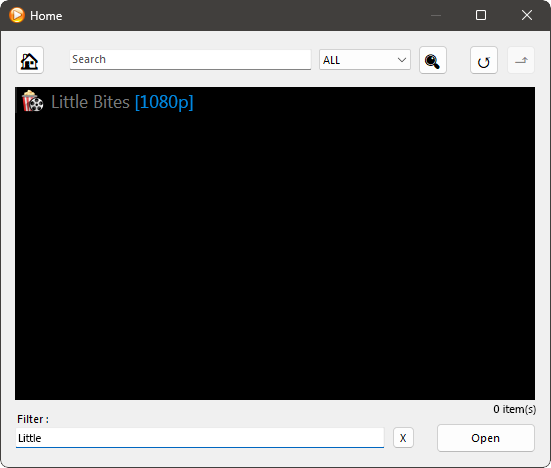
Search & Filters:
Use the Search bar at the top or the Filter box at the bottom to find titles instantly.
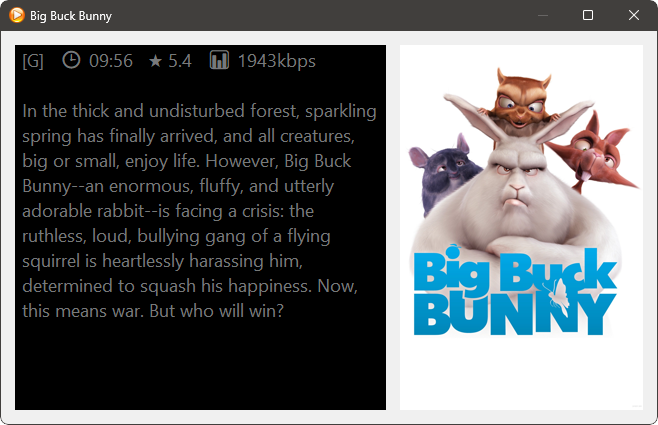
Media Information
Right-clicking any media entry will show the Media Information window which includes the media title's metadata, including MPAA rating, run time, rating, bitrate, synopsis and the movie poster.
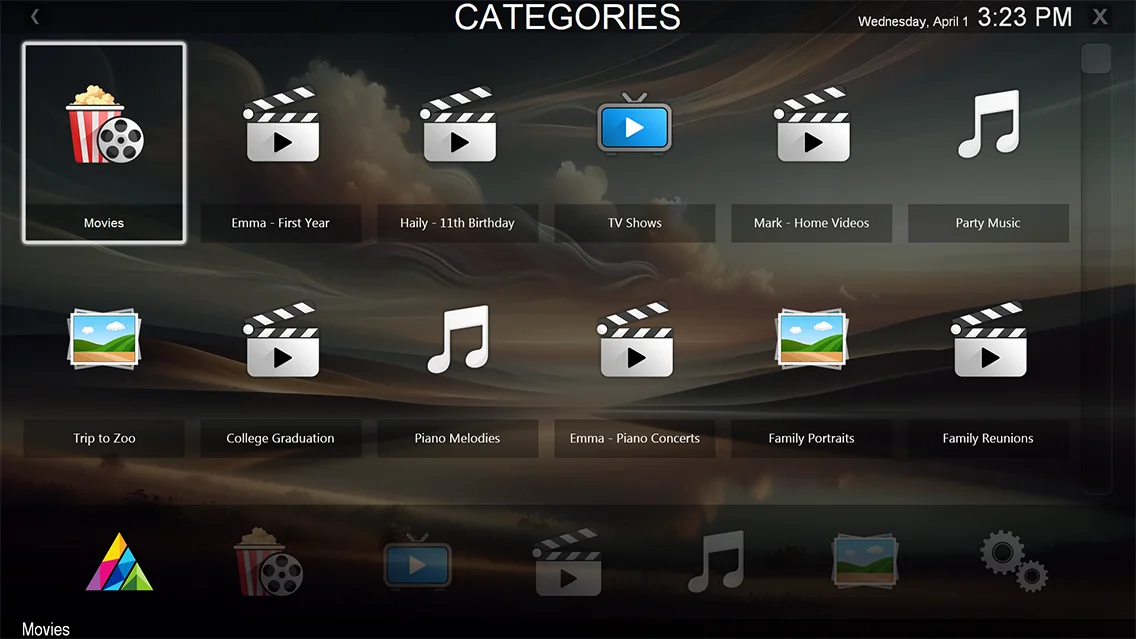
Browsing in Home Theater Mode (HTPC)
If you prefer a fullscreen, remote-friendly interface for your TV or monitor, You can browse and view your media server content in fullscreen inside your Media Library.
To view your media server categories within the fullscreen Home Theater interface, you need to add them as a dedicated category.
Adding the Media Server Category:
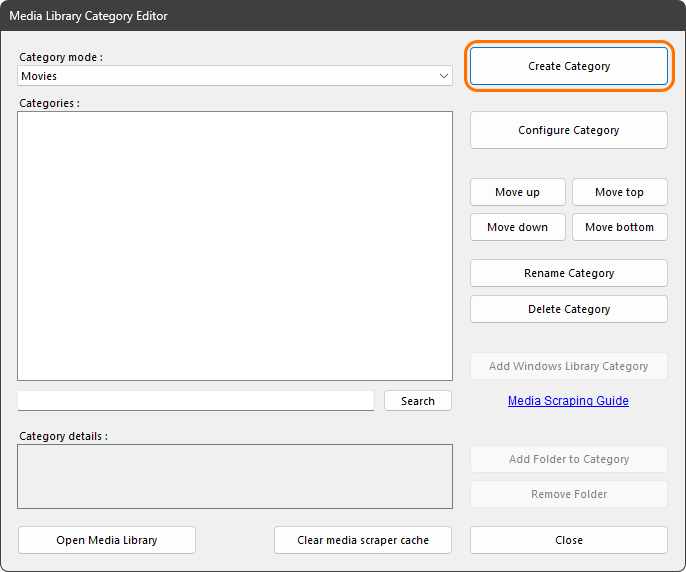
- Open the Media Library Category Editor (Shift+M) and click the Create Category button
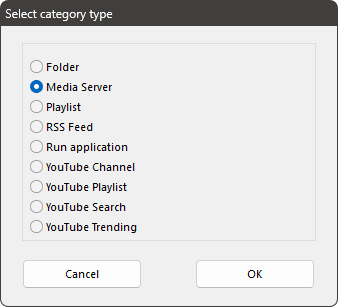
- In the "Select category type" dialog, choose "Media Server" and click OK.
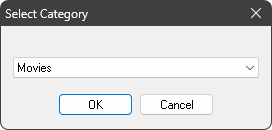
- Select your server category from the list e.g. Movies.
- Once created, you can access the category in the Media Library Categories Home Theater Interface.
Conclusion
Whether you’re a power user managing a massive local collection or a casual viewer streaming from a remote server, Zoom Player’s media server integration offers the best of both worlds. By following these steps, you’ve turned your player into a single hub for all your media. It combines high-quality playback with a clean, organized look.